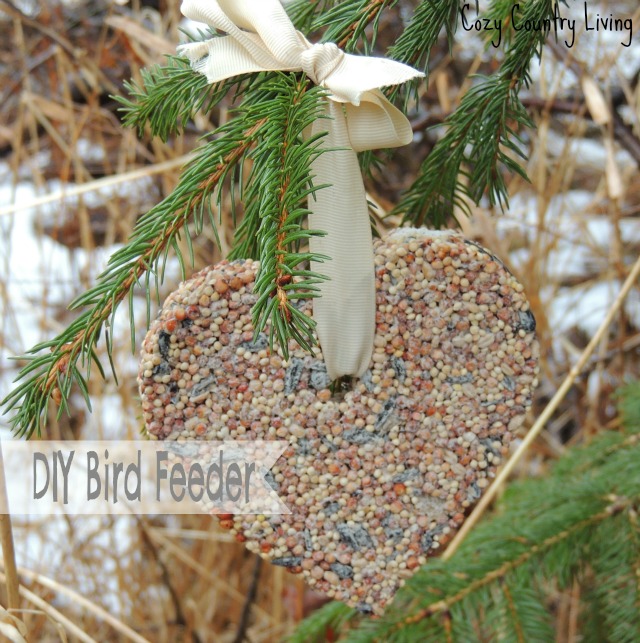
Winter is a great time for bird watching. When the landscape is covered in a blanket of snow, birds are easily seen. My children love looking for different colored birds and observing their behavior. Our cat also sits in the window and watches. Last week my children and I made these cute heart shaped bird feeders. You can use any shape and size cookie cutters you want to make your feeder. This recipe is easy and hardens overnight. We made 5 very large feeders and 1 small feeder out of this recipe, but how many you make would depend on what size cutters you use. Here is the recipe:
Ingredients
- For The Feeder:
- 3/4 cup flour
- 1/2 cup water
- 1 envelope unflavored gelatin- 2 1/2 tsp.
- 3 tbsp corn syrup
- 4 cups wild birdseed
- Other Supplies:
- desired shaped cookie cutters
- nonstick cooking spray
- a straw or back of wooden spoon for making a hole in the ornament
- wax paper or parchment paper
- cookie sheet
- ribbon for hanging
Instructions
- *I used my Kitchen Aid Mixer, but you can mix this in a large bowl if you want.
- Spray the inside of your cutter with vegetable cooking spray. I wiped mine down with vegetable oil too.
- Place cookie cutter on a parchment or wax paper lined cookie sheet.
- Spoon the birdseed mixture inside of cookie cutter, press the mixture hard with the back of spoon. The more you press it down, the less shedding of seeds you will have.
- Using the back of a wooden spoon or a straw, make a hole near the top of the heart and make sure it goes all the way through. This will be where you pull ribbon through.
- Carefully pull the cookie cutter off of the birdseed shape.
- Repeat until all the mixture is gone.
- I sprayed my cutters and wiped them after each feeder to ensure they wouldn't stick.
- Let dry 8 hours or overnight.
- Cut ribbon for each feeder and hang outside and enjoy!
oh what a great and sweet idea! The poor birdies this time of year. We used to have a ton but then our trees goat a fungus and we had to cut them down. Now we don’t have any pretty little birdies any more. It makes me sad. I would love to have you come share at my linky party! http://www.pandpkitchen.com/2013/02/17/show-me-your-plaid-mondays-10-2/